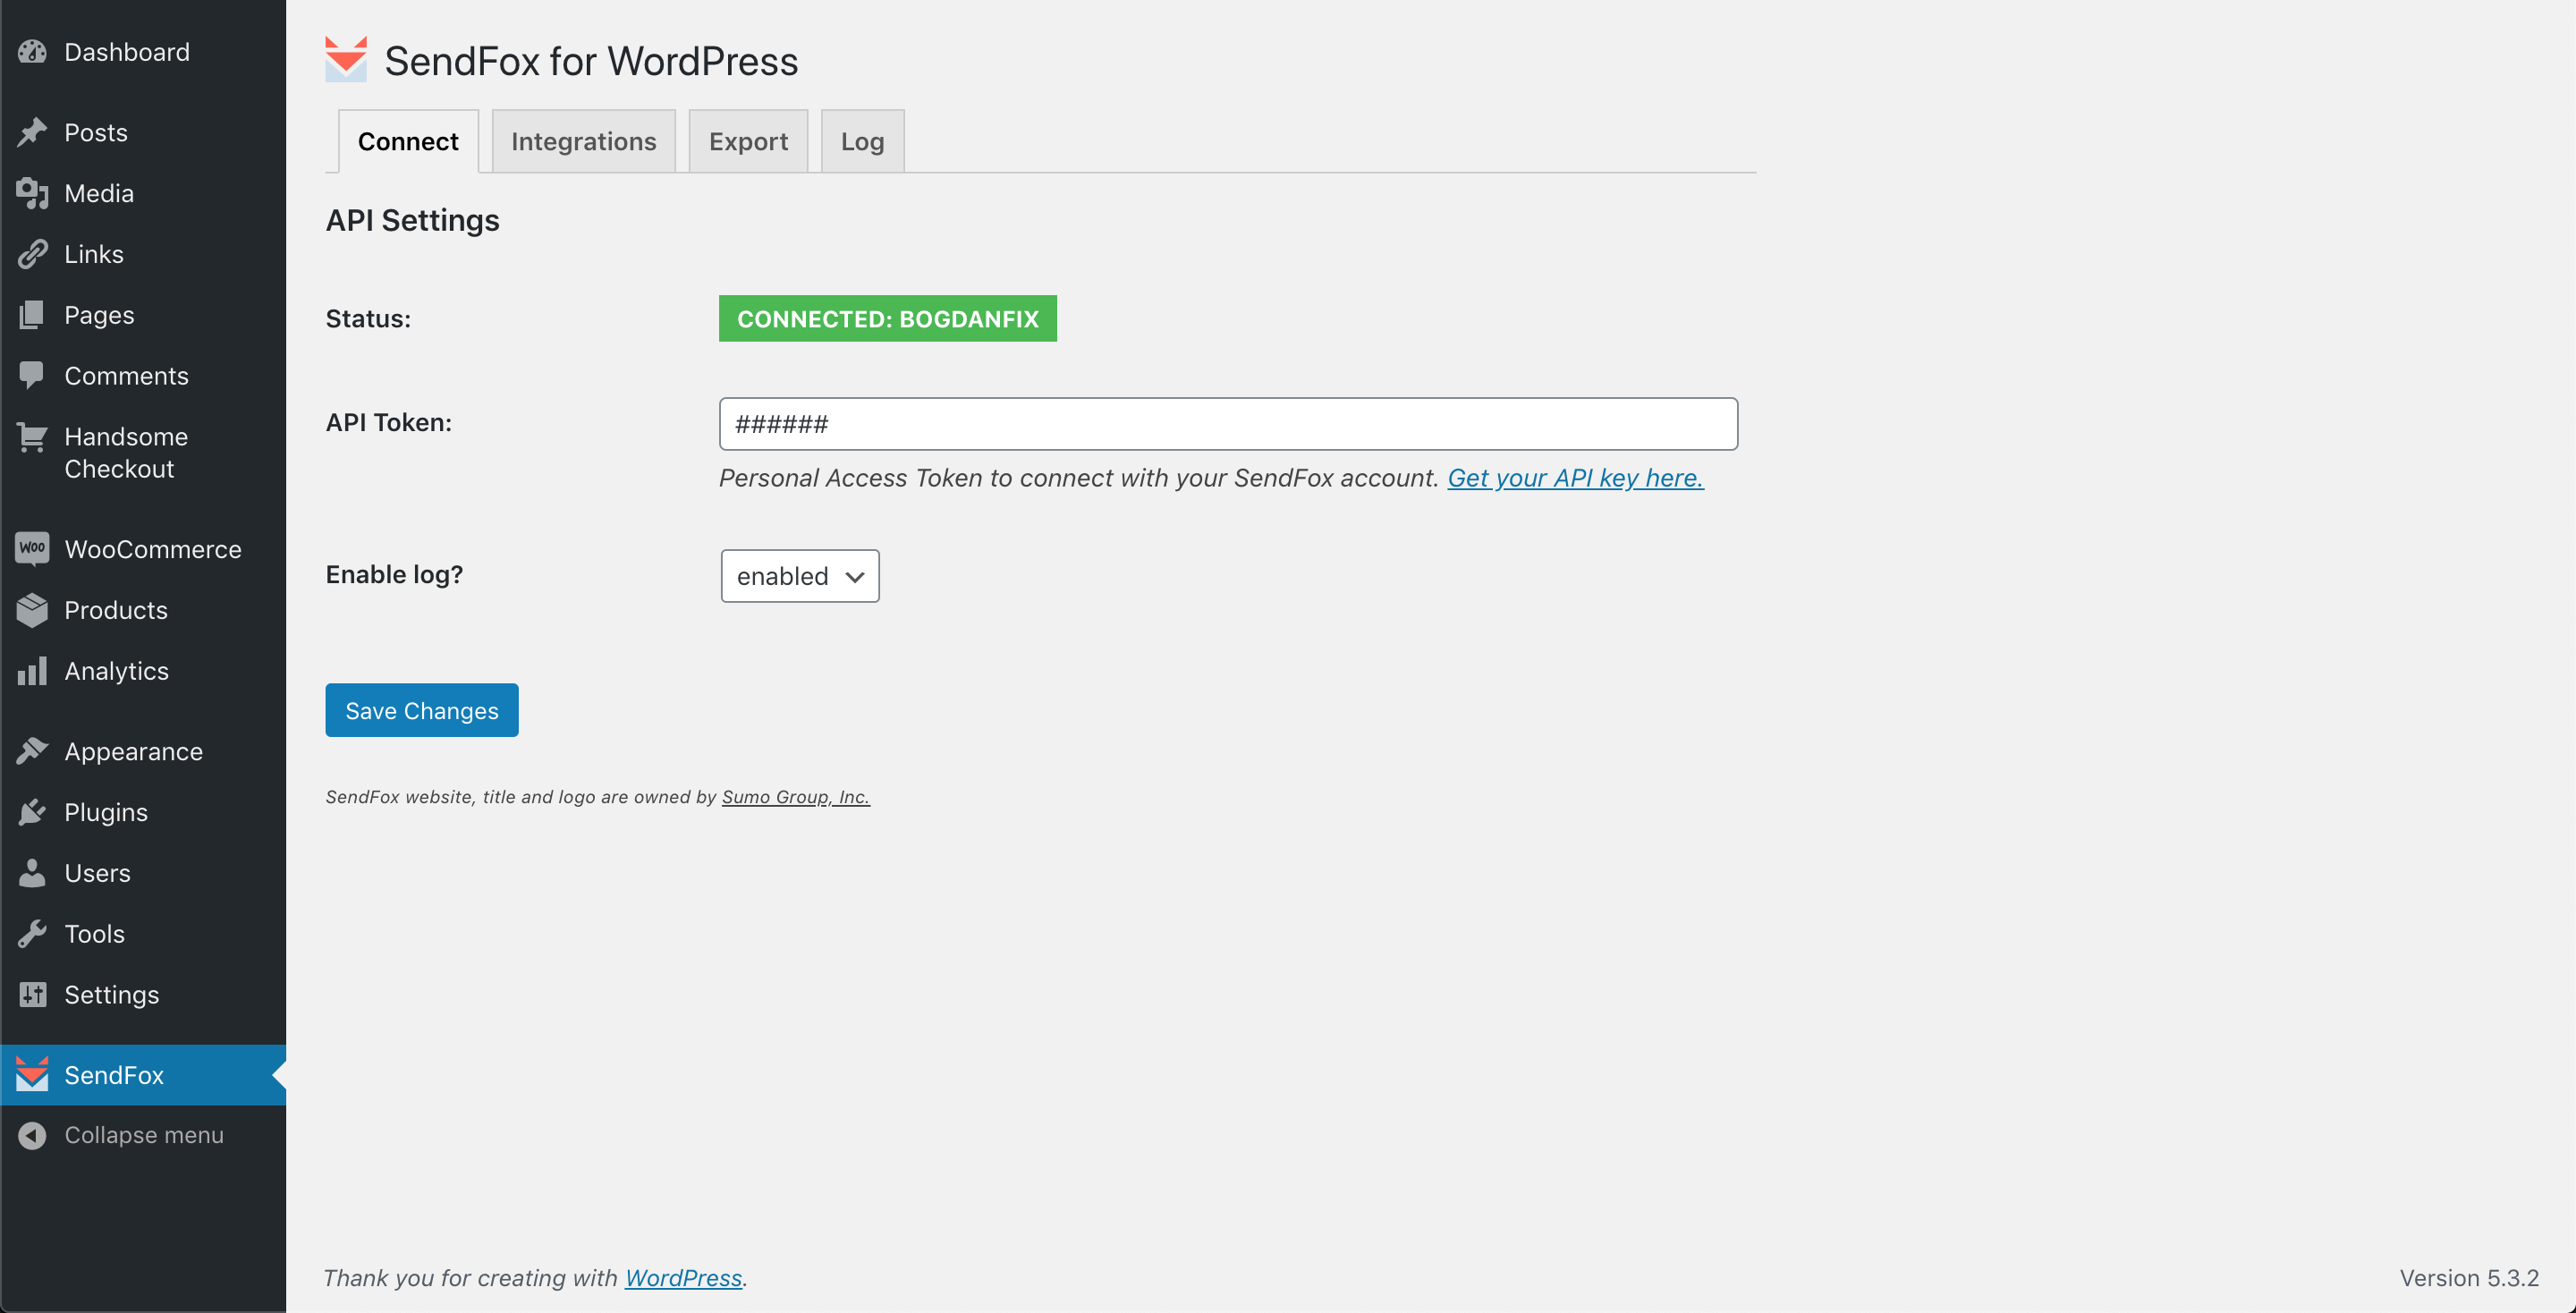
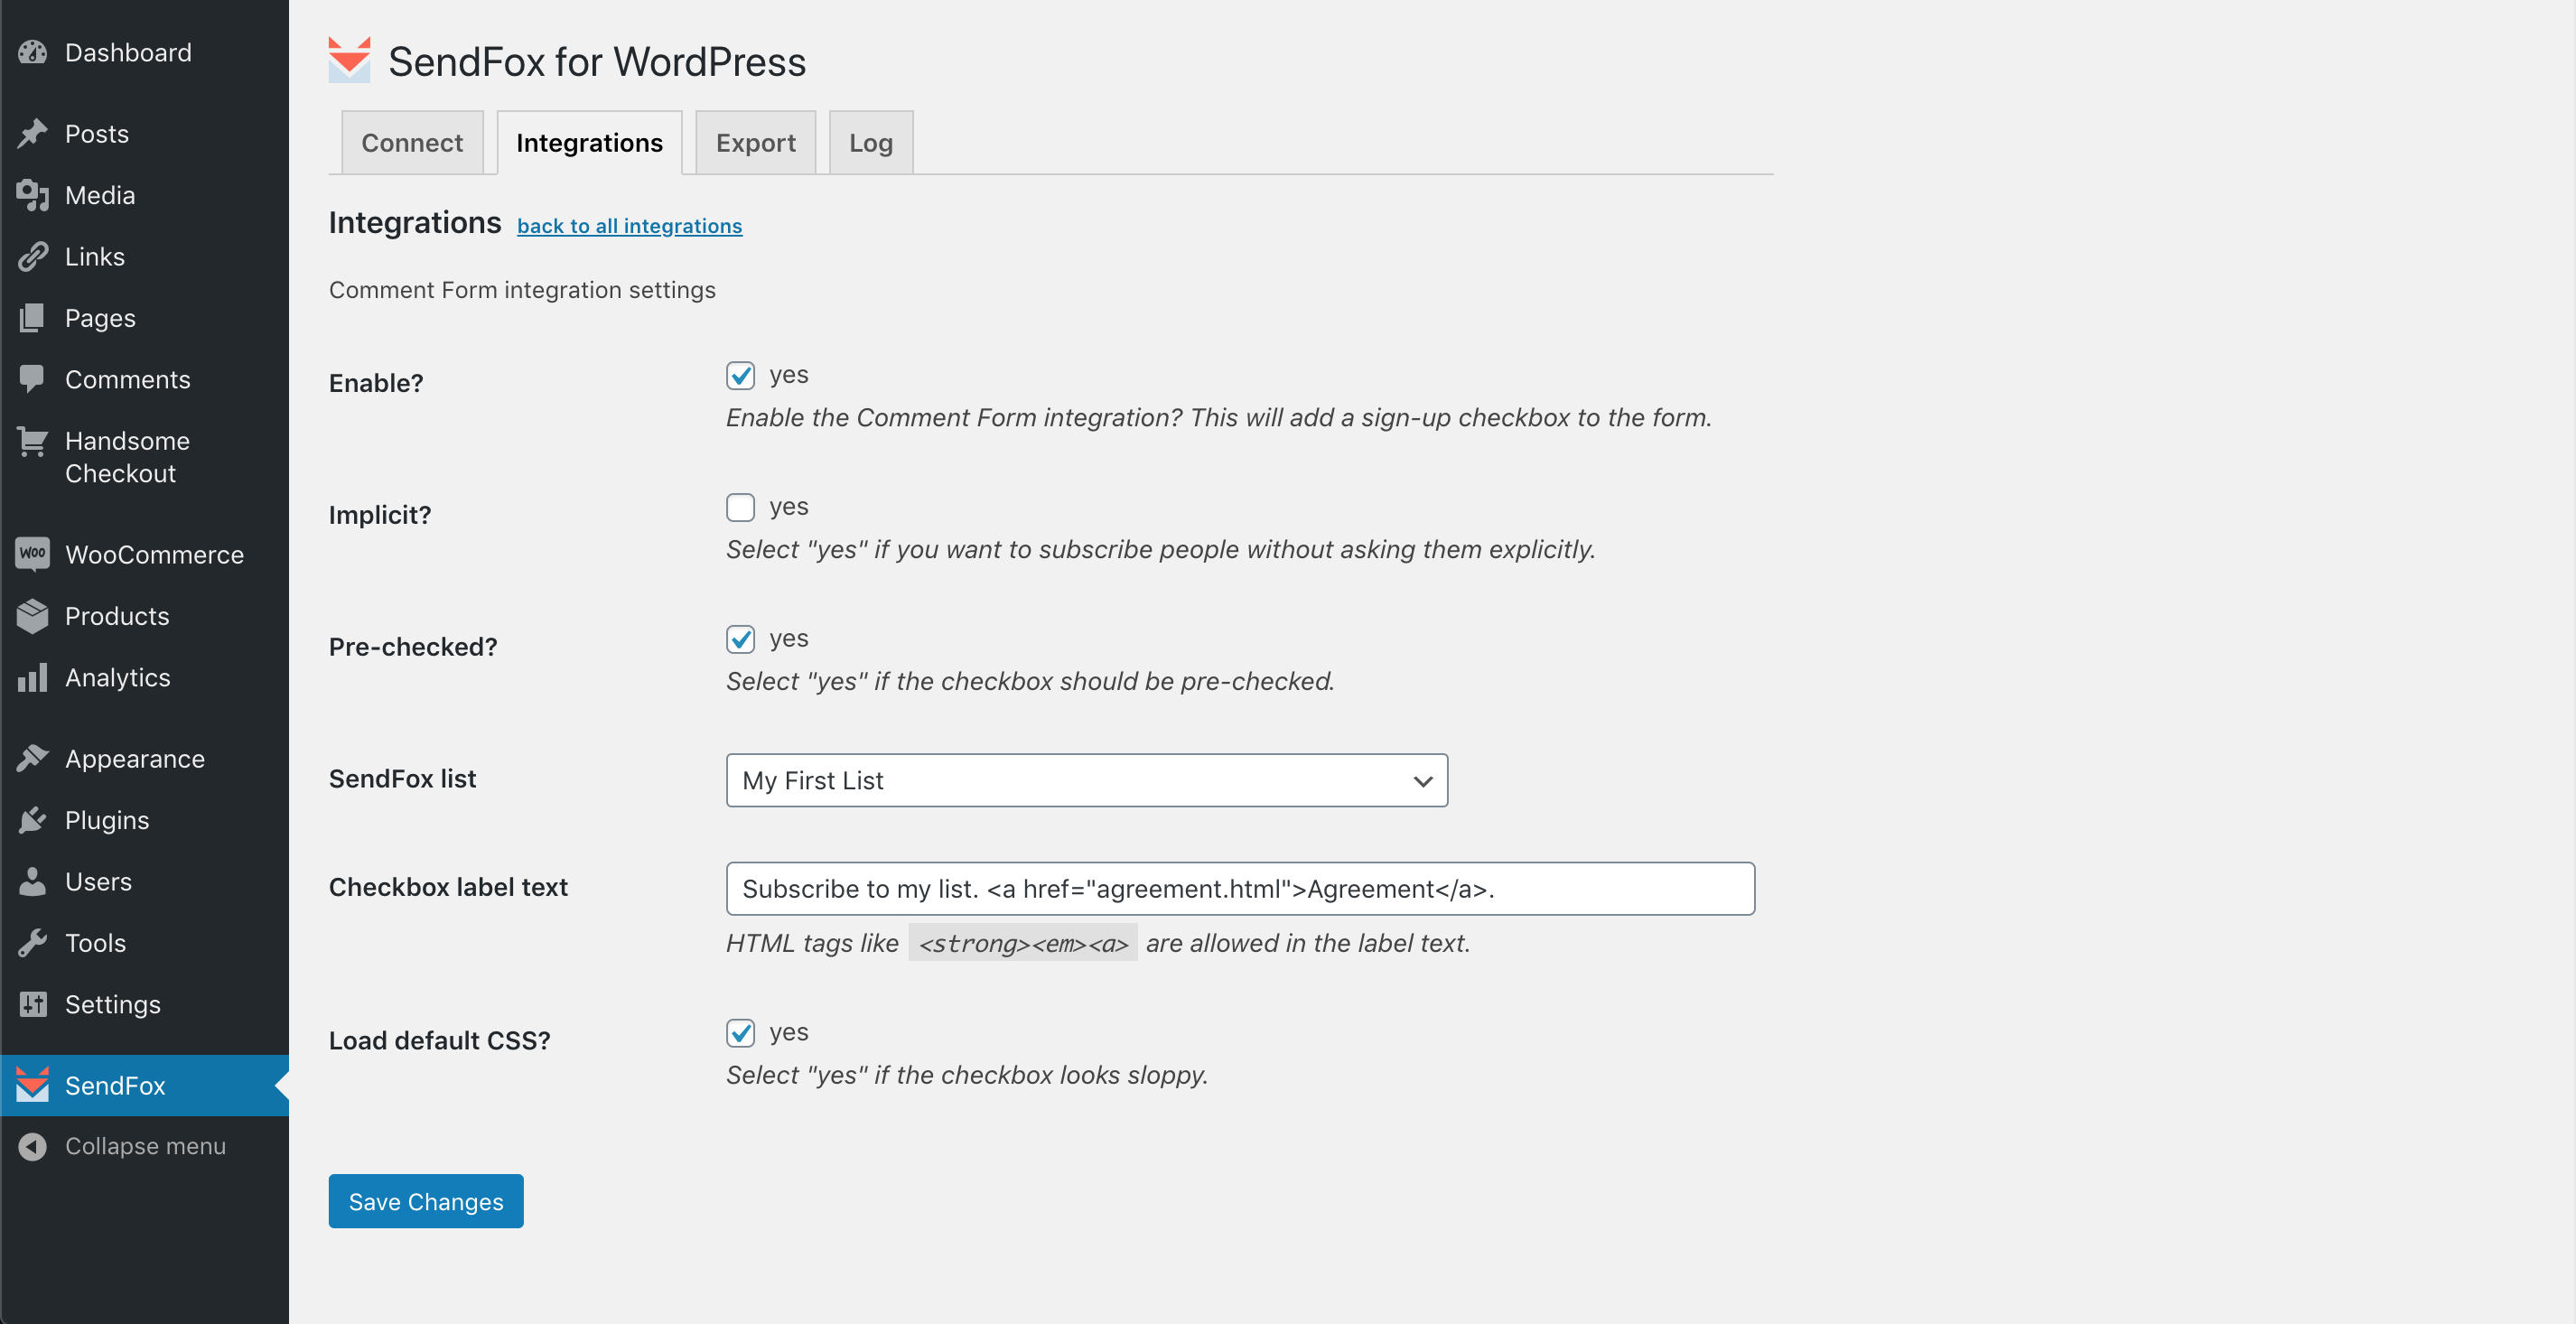
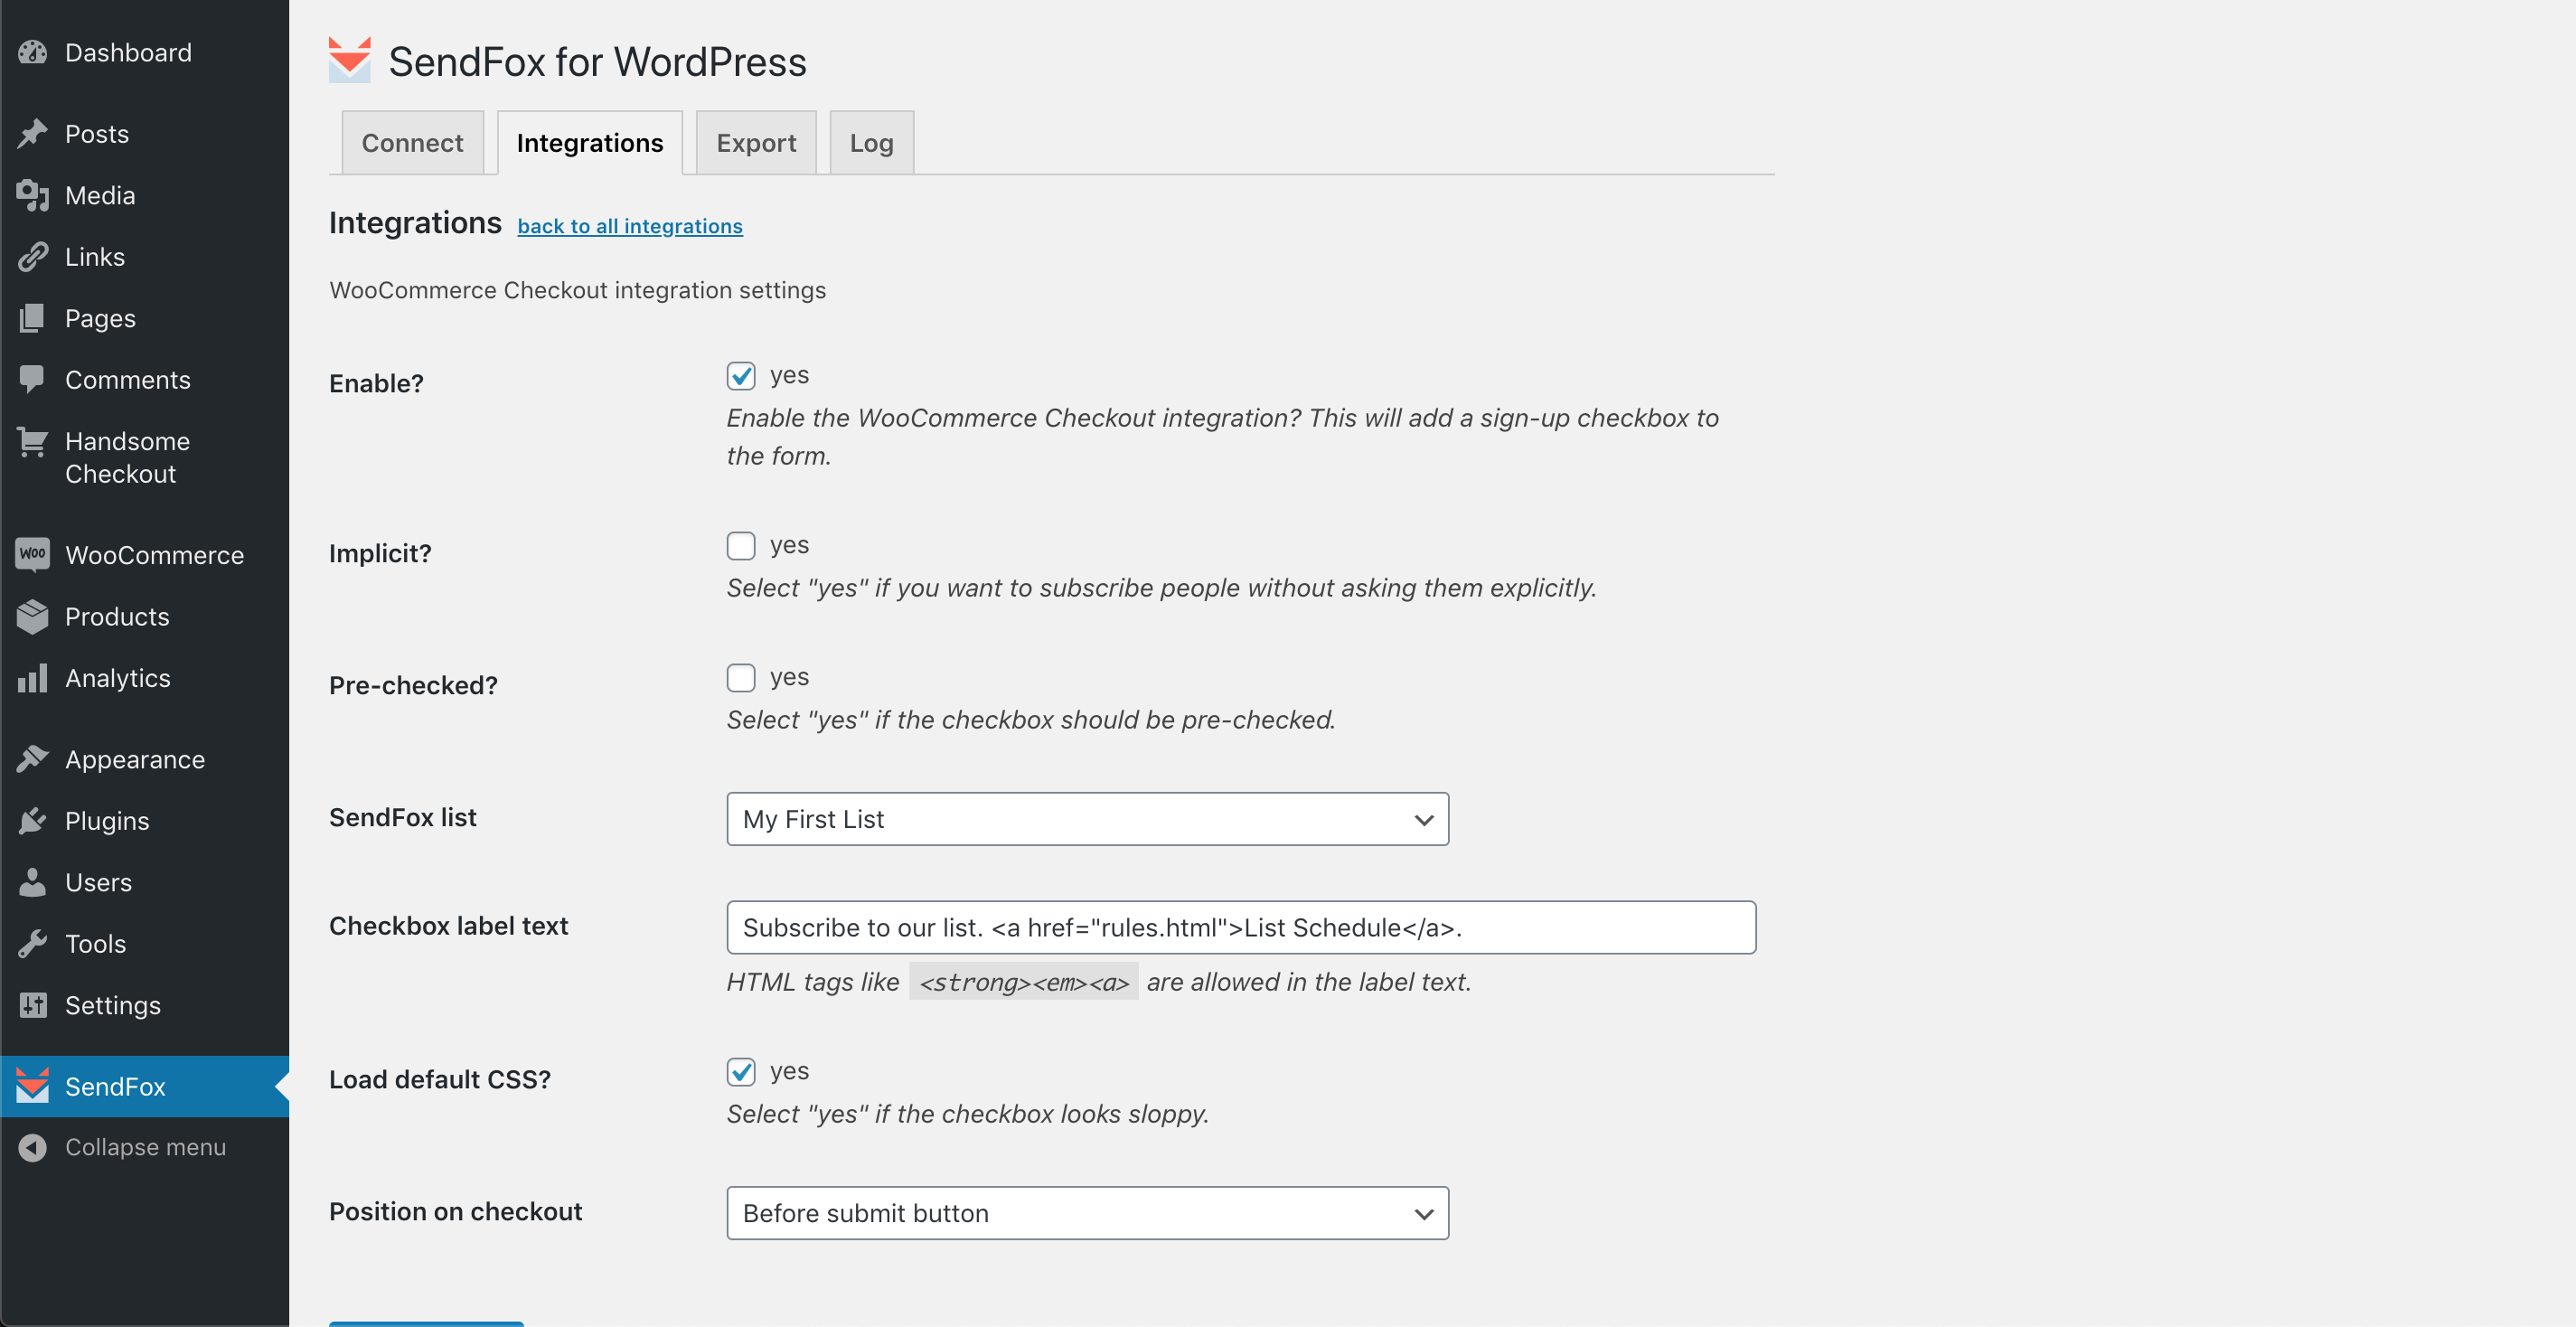
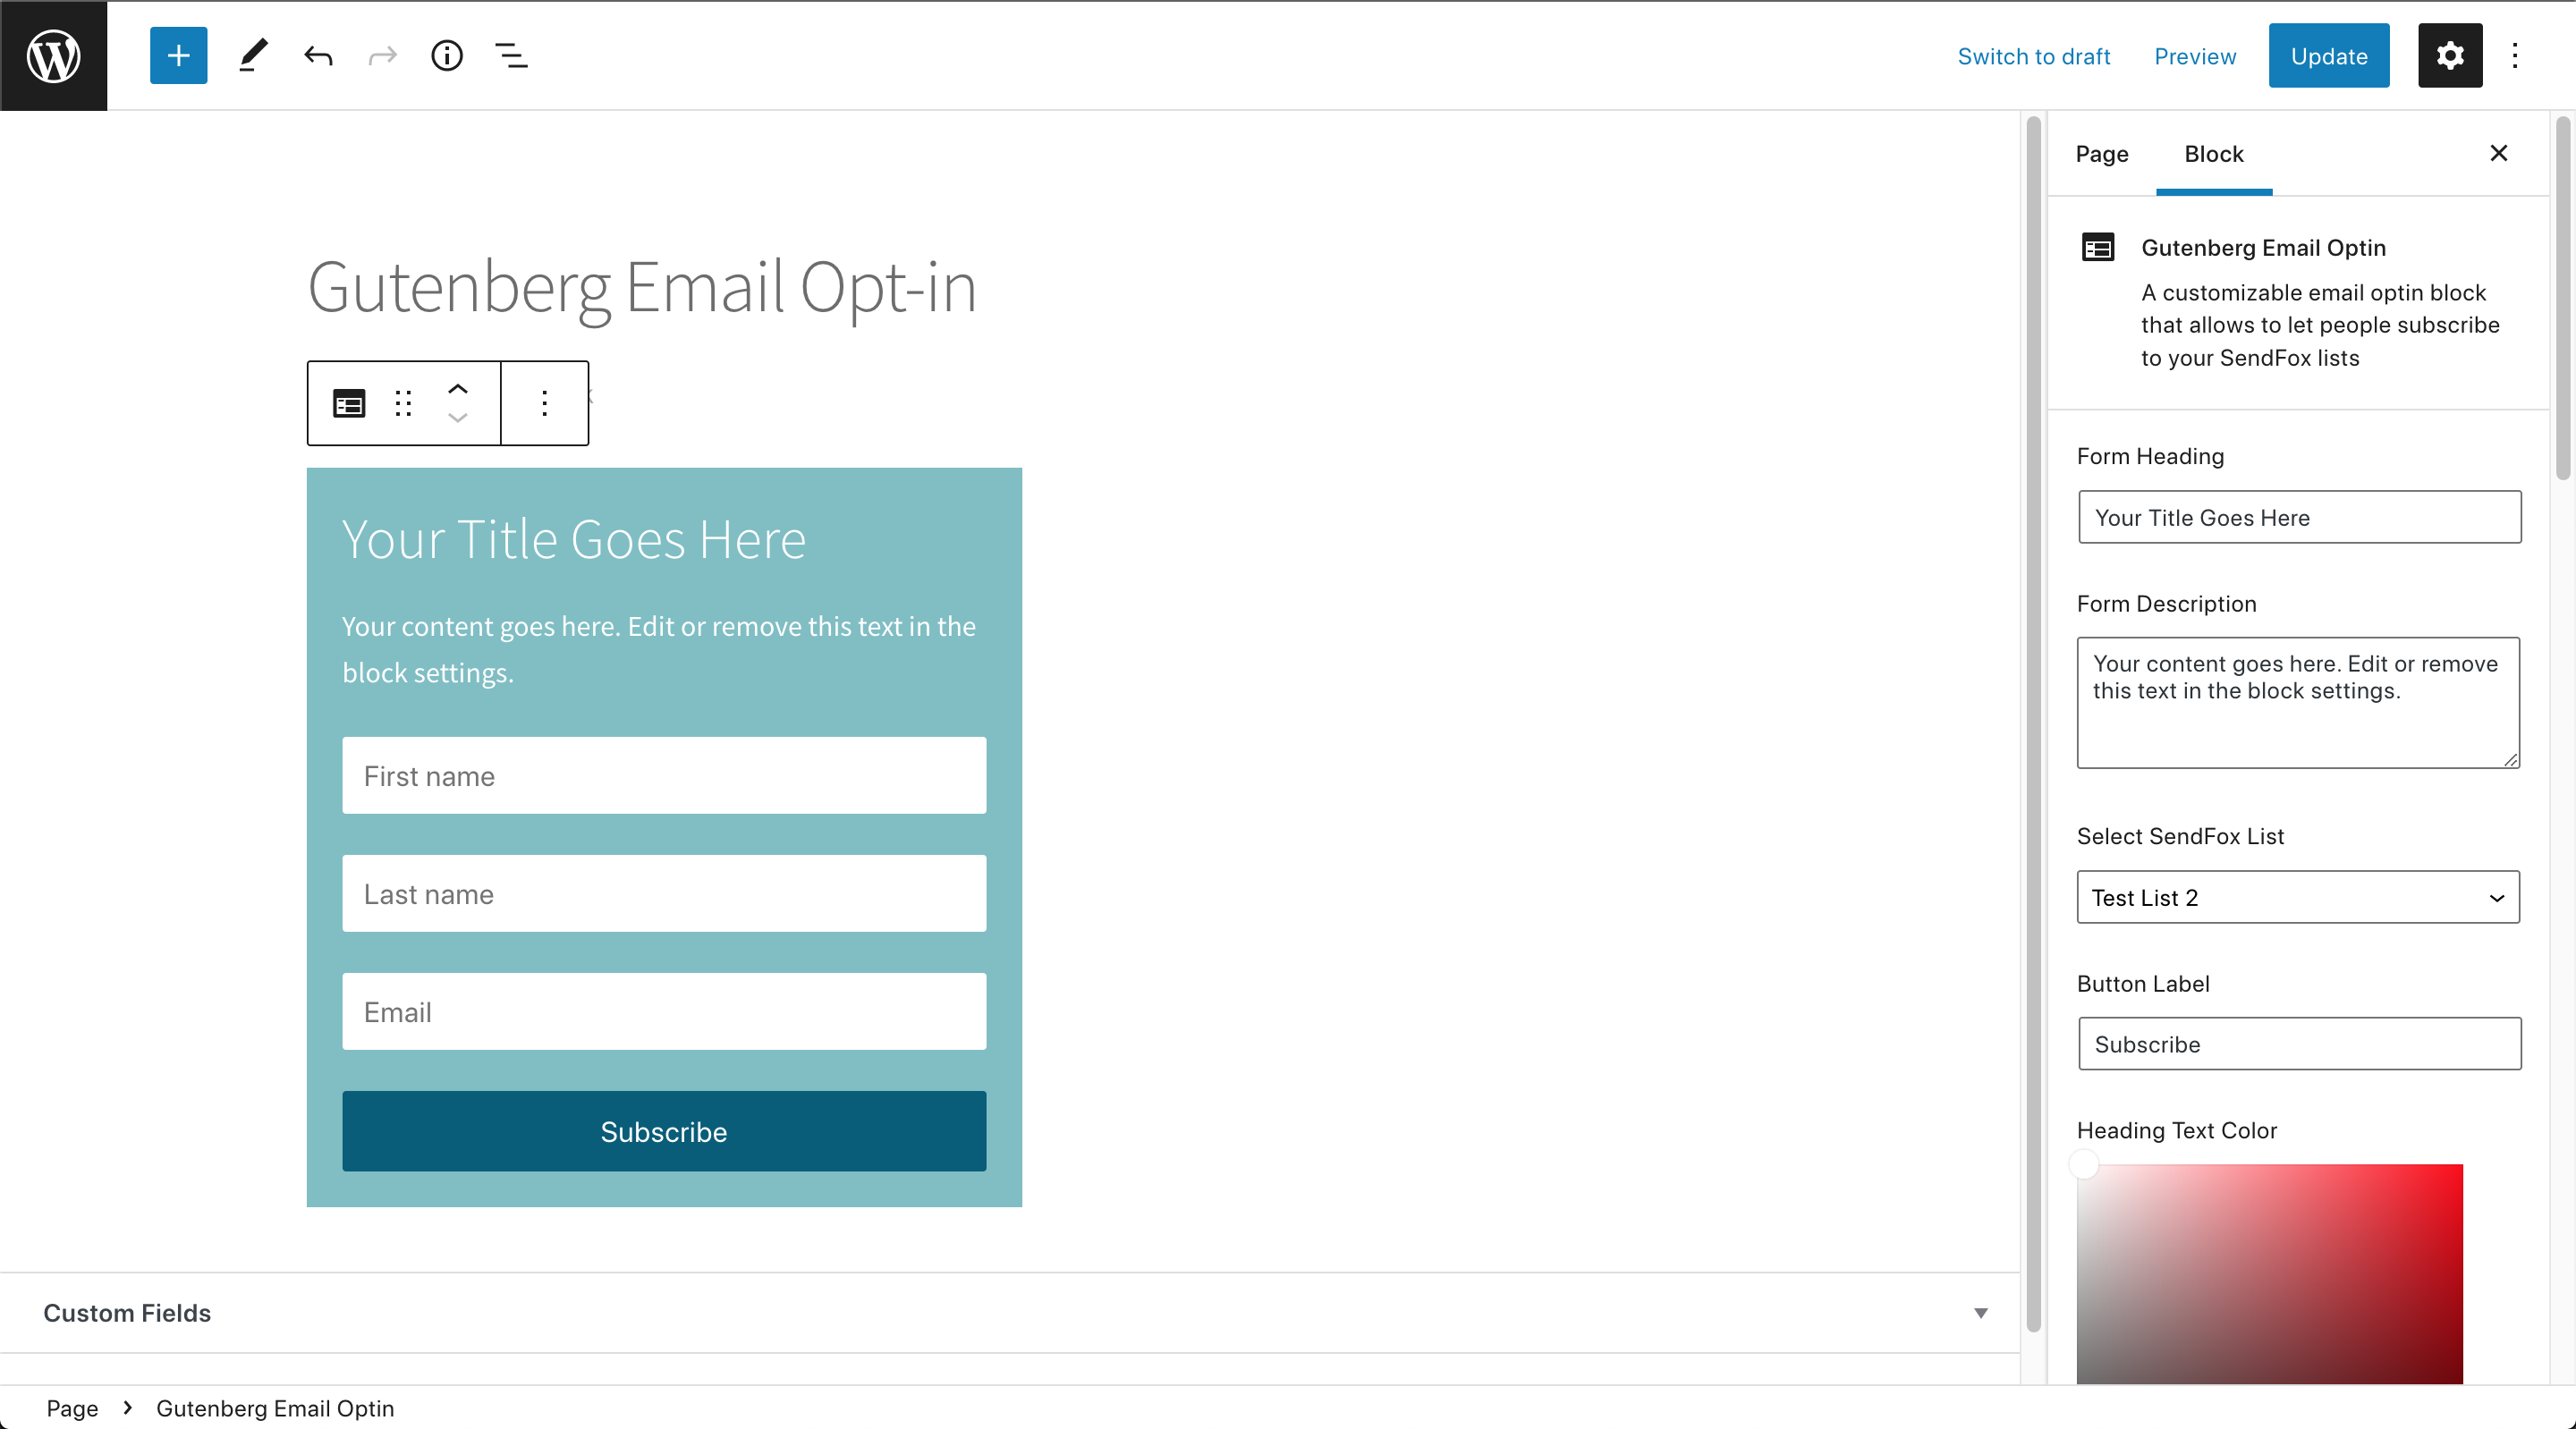
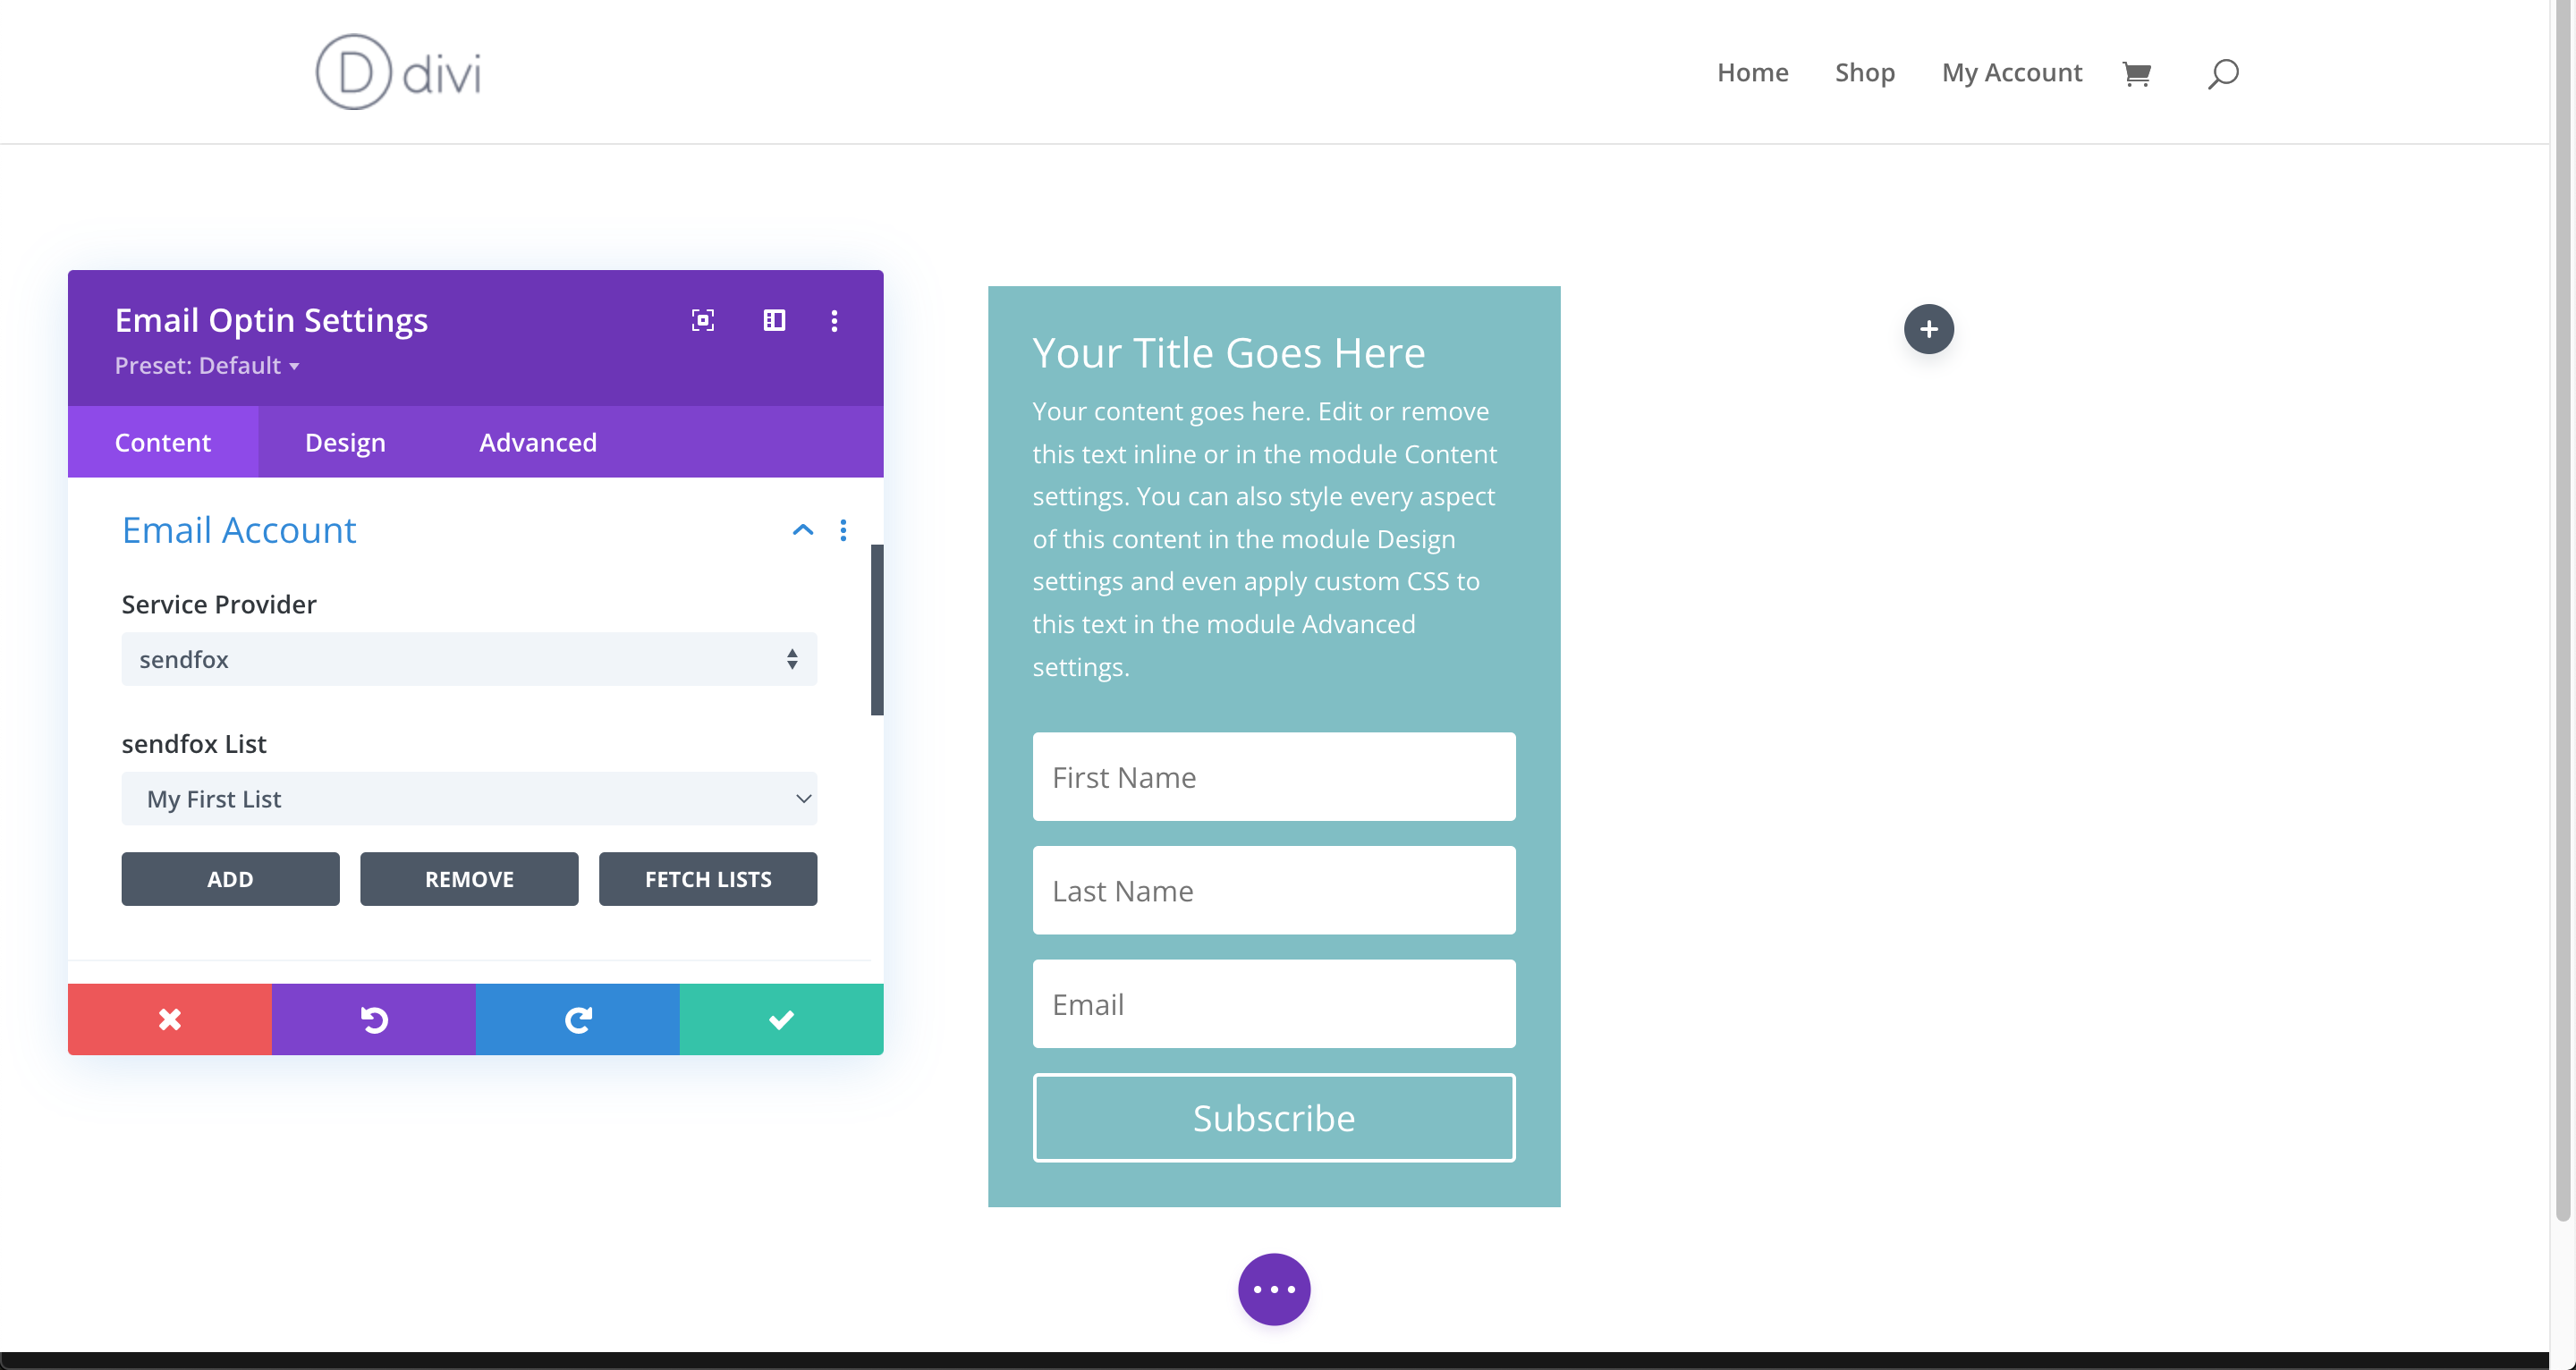
WP SendFox

WP SendFox

Capture emails and add them to your SendFox list via comments, registration, WooCommerce checkout, Gutenberg page or Divi Builder page.

  • Almost active
    This plugin was not updated the last 141 days ago.
  • This plugin is tested with the last major release of WordPress
    Content for list item
  • Compatible with the latest major PHP release
    This plugin requieres PHP 5.2.4 or higher. The latest stable PHP 8.3.9 was released on 04 July 2024
  • No unfixed plugin vulnerabilities
    Content for list item

Ratings

8

Active installs

1K

Total Downloads

15K

Support Threads

1

Last updated

07 March 2024

Added

06 March 2020

Versions

6.5%10.1%81.57%1.83%
  • Version 1.0
  • Version 1.2
  • Version 1.3
  • Version 1.1

Screenshots

Connect screen. Add your SendFox API key here and check connection.
Integrations screen. List of all available integrations.
Comment Form integration screen. Capture emails of those who comments on your site.
WooCommerce Checkout integration screen. Capture emails of those who buys in your store.
Export screen. Export emails of WordPress users or WooCommerce customers to your SendFox list.
Gutenberg Editor. New Email Optin block connected to your SendFox account.
Divi Builder. SendFox added to the list of email providers in Divi Email Optin block.

About WP SendFox

FAQ

No, definitely not. This plugin uses a secure API connection to SendFox via the special API key, that you need to generate in your account first. Your login credentials are not revealed.

Changelog

1.3.1

1.3.0

1.2.0

1.1.0

1.0.2

1.0.1

1.0.0

How to install WP SendFox

  1. Upload the plugin files to the /wp-content/plugins/wp-sendfox directory, or install the plugin through the WordPress plugins screen directly.
  2. Activate the plugin through the ‘Plugins’ screen in WordPress.
  3. Go to your SendFox account settings to create “Personal Access Token”.
  4. Copy your new “Personal Access Token”.
  5. Go to the admin menu->SendFox->Connect screen to configure the plugin.
  6. Paste your “Personal Access Token” into “API Token” field and click “Save Changes”.
  7. If “Status” field shows green box saying “CONNECTED: Your_Account_Name”, your SendFox account is connected successfully.
  8. Now you can go to “Integrations” and “Export” tabs. Use “Integrations” tab to configure how your visitors will subscribe to your list from your site. And “Export” tab to export existing WP users or WooCommerce customers.