This plugin was developed for use via Google Chrome browser, since it has enough print control options in the print dialogue.
Other browsers, Safari for instance, lack some basic settings like setting page print margins to none, causing either page overflows or wasting printable area.
Things to check:
* In Chrome browser > Settings > Privacy and security > Site Settings > Content > Pop-ups and redirects – if the site is listed under “Not allowed to send pop-ups or use redirects” remove its entry.
* In case your browser has AdBlock plugin installed (or any similar ad blocking extension) – enable your site pop-ups there.
Things to try:
* Observe the console in developer tools (in Chrome press F12).
* Check the plugin on other site – preferably with up to date WordPress and WooCommerce installations.
* Update WooCommerce.
* Temporarily enable WordPress DEBUG mode and logs (preferebly in a staging environment) – explore for any errors or conflicts.
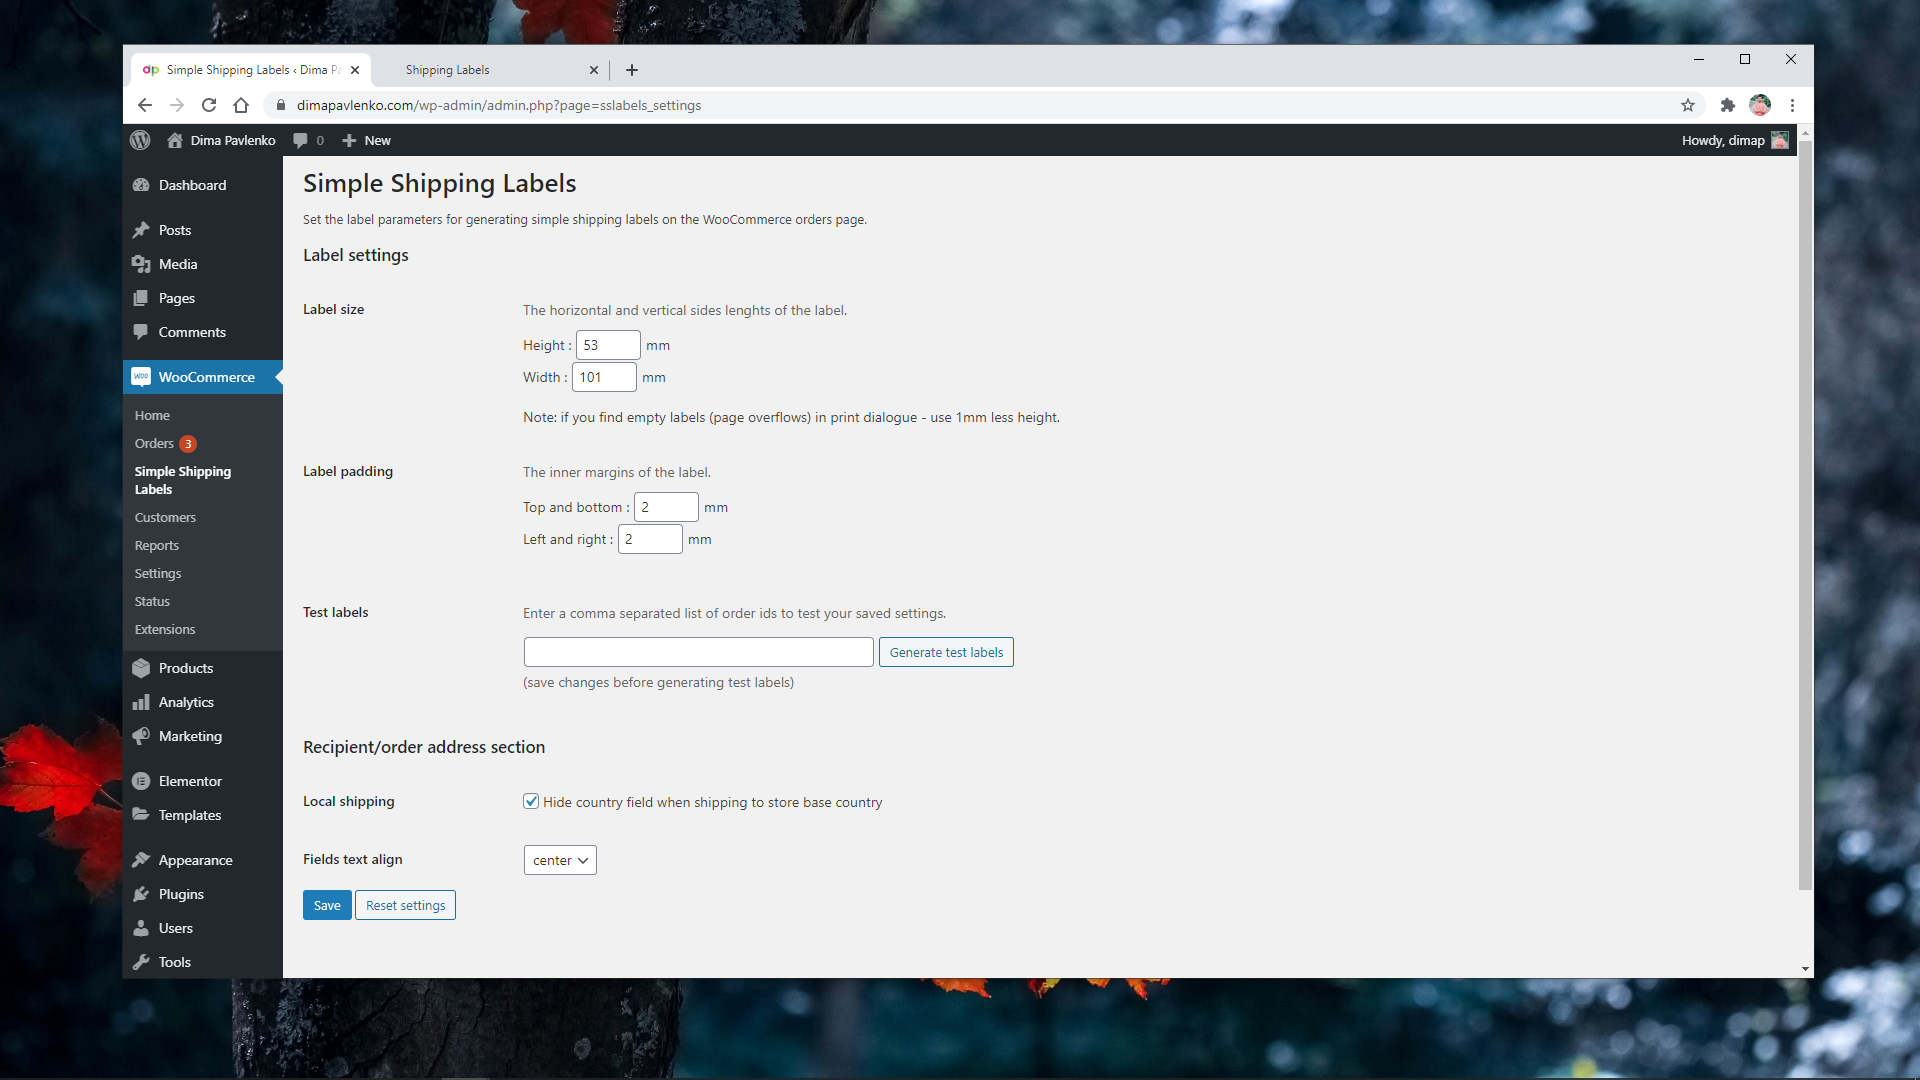
Go to the plugin settings page in WordPress dashboard > WooCommerce > Simple Shipping Labels and set various label parameters.
The most important thing is to make sure you’ve installed the drivers for your printer and set the correct label size in printer settings.
You will find your DYMO / Brother label printer model drivers on their corresponding websites, usually under “Support” or “Downloads” pages.
Regular printers are “plug-n-play” since they use default page sizes like A4, while label printers need a bit of configuration, since there are a lot of weird available label sizes for each. Once you install the drivers, you should see all the supported label sizes in the printer options/settings, that should then be listed in the Chrome print dialogue for you to choose.
I suggest watching a few tutorials on YouTube of the model you consider or purchased, see if there are any reviews and constructive comments under the videos. Even go to the extent and check which one has cheaper 3rd party labels on eBay/Amazon.
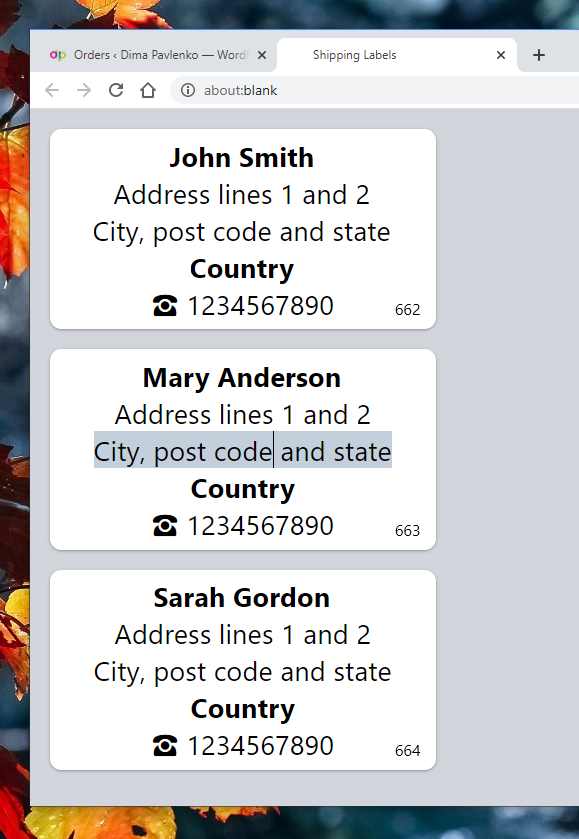
Every label detail field is editable. Use Enter key for adding line breaks and keyboard shortcuts: Ctrl+B (bold) | Ctrl+I (italic) | Ctrl+U (underline). Every field automatically adds a line break once there is enough place for two lines.
For some label sizes you may want to use different orientation.
Google Chrome browser print dialogue can help to achieve it natively:
The Simple Shipping Labels Pro provides a few additional features, but here are a few alternatives and ideas to consider first:
1. Branding/sender/return address section – static info and logos can be printed separately in large quantities and color, thus can be designed in any editor, printed locally or via 3rd party services, such as noissue / StickerMule or your local printing houses, and many more creative packing solutions like custom packing tape.
2. Custom CSS – the plugin code is simple and well documented, one with basic HTML/CSS/JavaScript/PHP/WordPress understanding can modify the code to achieve business specific design or behaviour.
3. Order items – simple table of order items, great for further code customization, since it has most of the useful API/logic figured out for any beginner developer to modify.